Plugins for WordPress
What is it all about?
Where the themes are the foreground functionalities for WordPress, plugins are the background functionalities. If you have e.g. a webshop, you use a storefront as theme and a number of plugins in the background for handling sales items and financial transactions. As seen with the themes, there is a ton of options, depending on what you need, and you download and install them yourself. If you discover that the plugin was useless for what you wanted to do, you just delete it.
The first plugins you should install
Because WordPress is as widely used as it is, and open source, it is constantly under attack from hackers, spammers and scammers, so, just like your computer always have to have an updated antivirus and firewall, your WordPress site should have malware scanner and anti-spam plugins. There is quite a lot to choose from, some of which are free. When selecting plugins for safety, it is advisable to take a look at what is recommended at the time of installation.
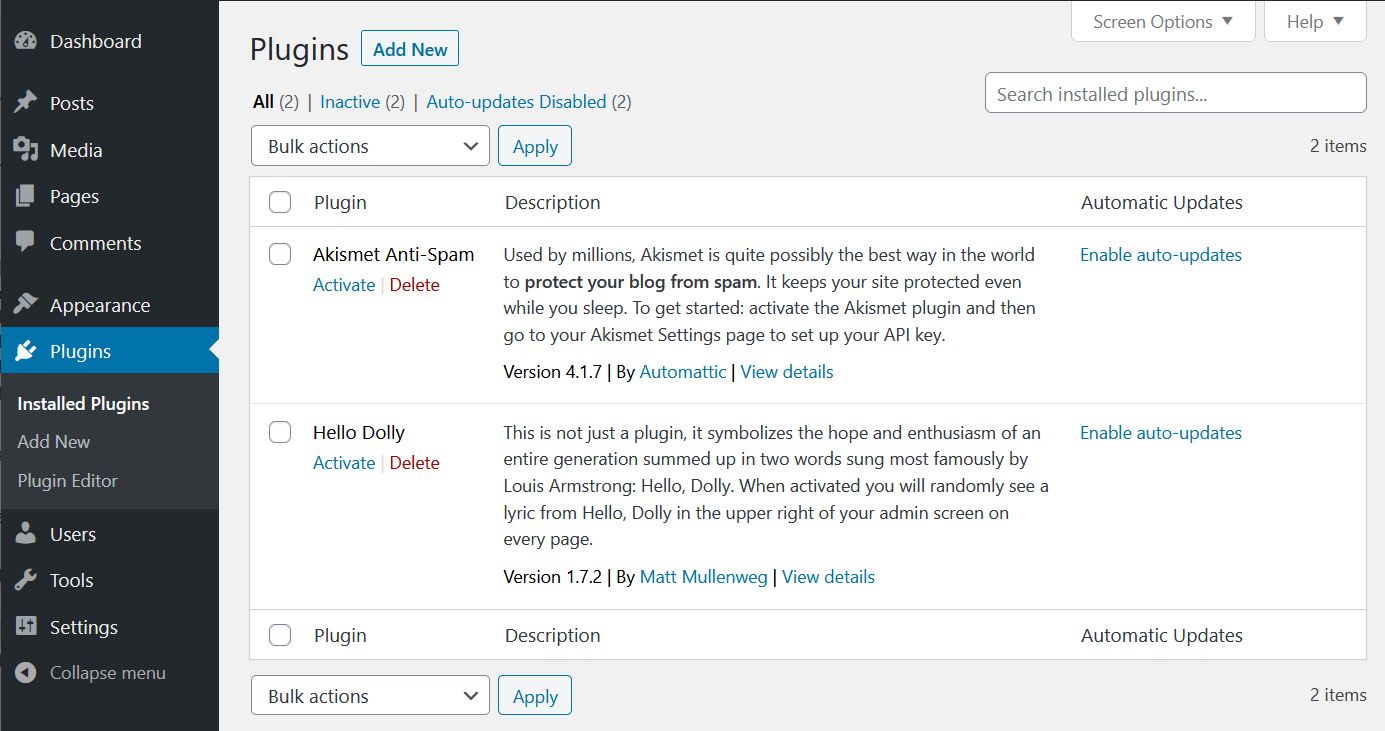
At the time of writing (2020), WordPress comes with the two plugins Akismet and Hello Dolly installed. Akismet is a popular anti-spam plugin, Hello Dolly is a slightly goofy plugin, inserting parts of the lyrics to Hello Dolly in the upper right corner of the dashboard, when opened.
The two plugins aren't active after the installation, you have to activate them yourself afterwards. We'll get back to that in the next section. If you click on Plugins on your dashboard, it looks like this:
How to install a plugin
Because WordPress is so popular in regards to hacking attempts, as it is, we will install some safety measures. The plugin named Wordfence is popular and recommended by many, so we will install it as the demo.
Next to the headline Plugins (see the picture above) there is a button "Add New" and two places under Plugins in the menu, there is a subheading saying "Add New". By clicking one of them (doesn't matter which one), you get to where you search for and install plugins.
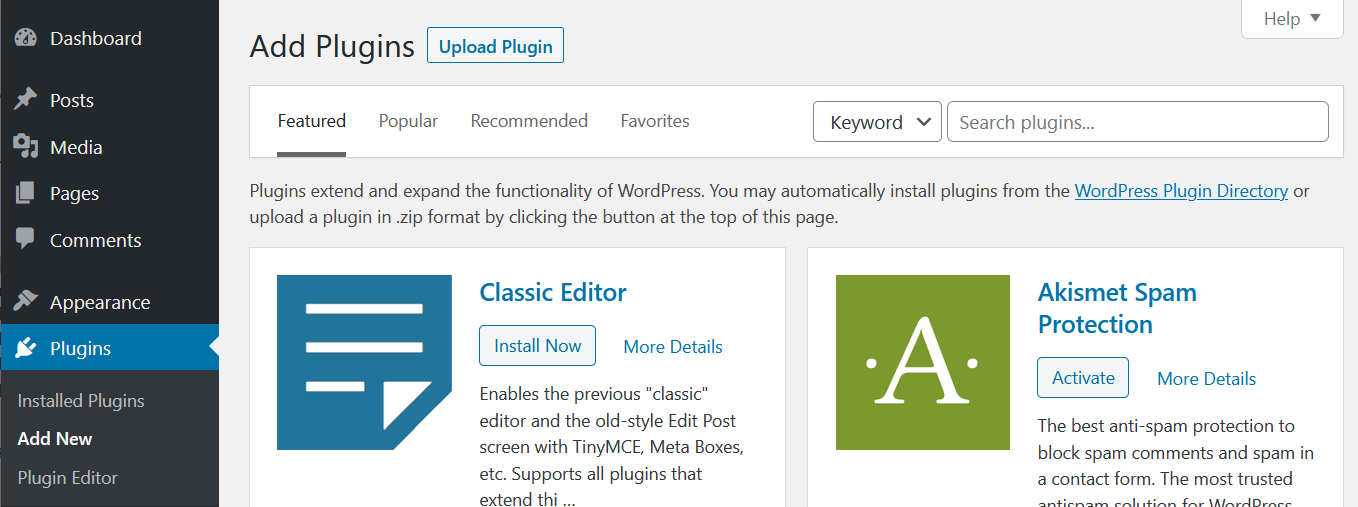
Now we search for Wordfence, and simply writing the word in the search field makes the system search for the word, so you don't have to press enter or look for a button saying "Search". Wordfence is found immediately, and can be installed now, simply by clicking "Install Now".
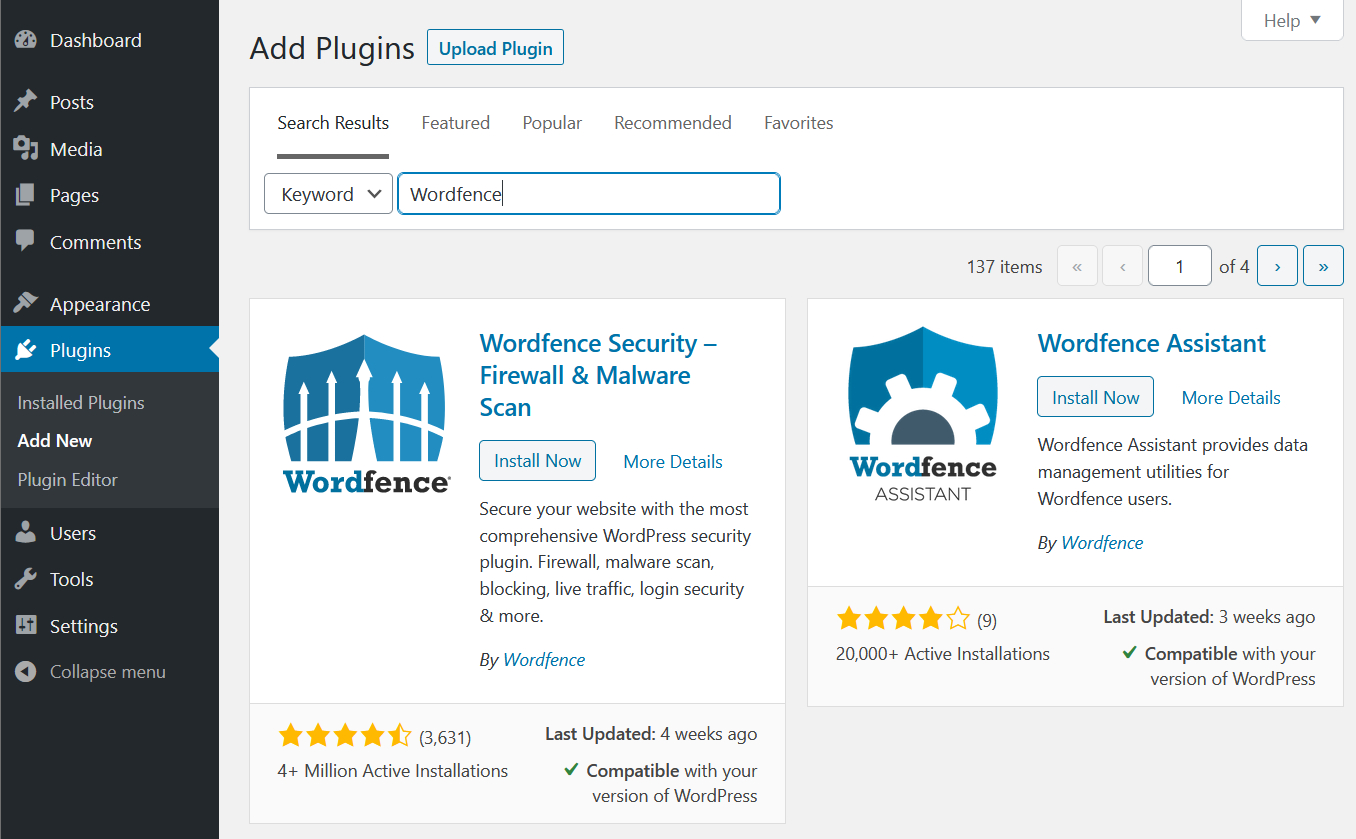
A rather important detail is that it also tells you whether you can use the plugin with your version of WordPress.
When you have installed the plugin, a button with "Activate" appears where "Install Now" used to be. This one you click, and the plugin is ready. Wordfence comes with a (rather persistent) offer about sending you security alerts and being on their mailing list. This you can accept or decline as you see fit, but you have to give them a mail address for security alerts and tick off that you accept their Terms & conditions, before Wordfence is completely activated. Wordfence is one of the plugins, that can be found in both a free version and a premium version, so, should you want to do so (there can be sound reasons for this, at some point), you can select an upgrade. But as such, the plugin is now installed and appears on the list of plugins:
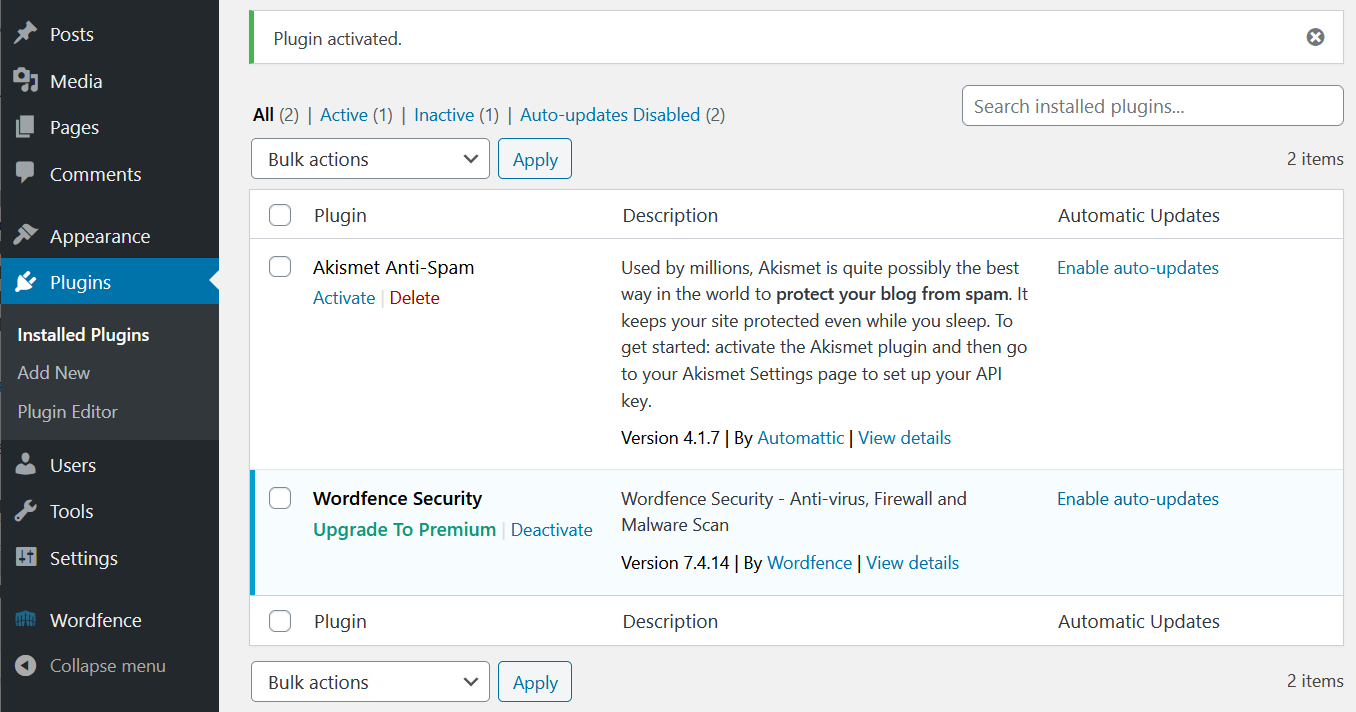
Note that Wordfence now also appears as a menu item on the control panel, so you can access and configure the plugin.
Next to the headline Plugins (see the picture above) there is a button "Add New" and two places under Plugins in the menu, there is a subheading saying "Add New". By clicking one of them (doesn't matter which one), you get to where you search for and install plugins.
Now we search for Wordfence, and simply writing the word in the search field makes the system search for the word, so you don't have to press enter or look for a button saying "Search". Wordfence is found immediately, and can be installed now, simply by clicking "Install Now".
A rather important detail is that it also tells you whether you can use the plugin with your version of WordPress.
When you have installed the plugin, a button with "Activate" appears where "Install Now" used to be. This one you click, and the plugin is ready. Wordfence comes with a (rather persistent) offer about sending you security alerts and being on their mailing list. This you can accept or decline as you see fit, but you have to give them a mail address for security alerts and tick off that you accept their Terms & conditions, before Wordfence is completely activated. Wordfence is one of the plugins, that can be found in both a free version and a premium version, so, should you want to do so (there can be sound reasons for this, at some point), you can select an upgrade. But as such, the plugin is now installed and appears on the list of plugins:
Note that Wordfence now also appears as a menu item on the control panel, so you can access and configure the plugin.
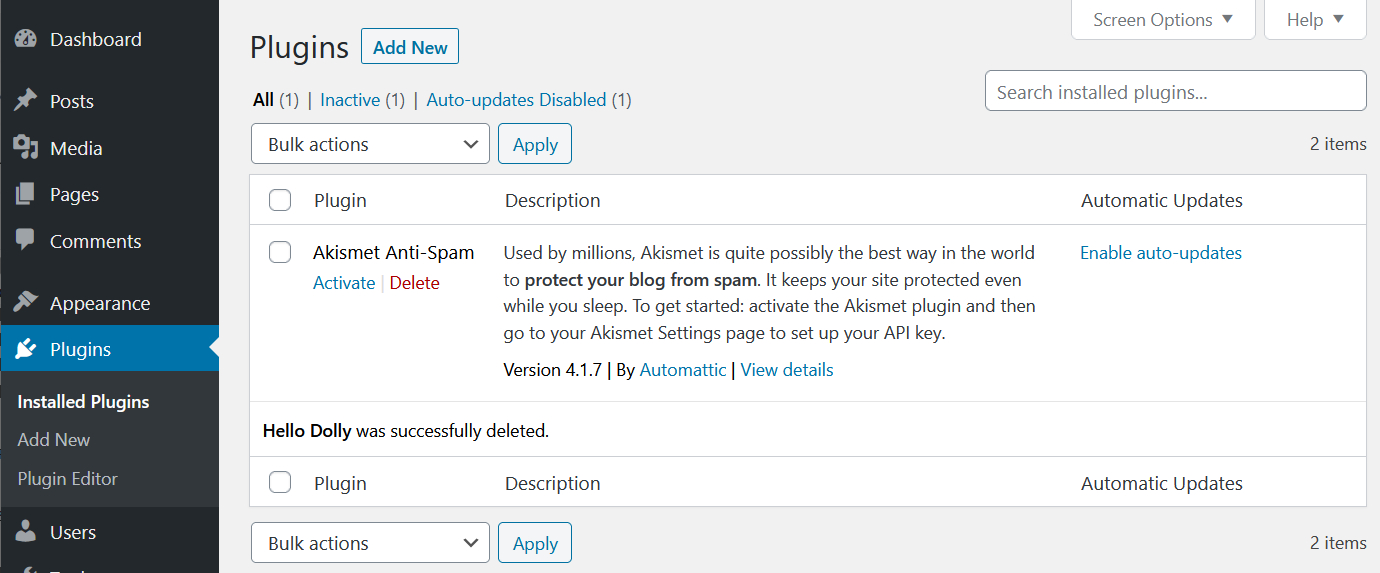
How to delete a plugin
Deleting a plugin is simple. You click the Delete written right below the name of the plugin. A pop-up appears, asking whether you are sure you want to delete the plugin. If you press OK, it will be deleted, and a small message that the plugin at hand has been deleted. Here Hello Dolly has been deleted: